In the field
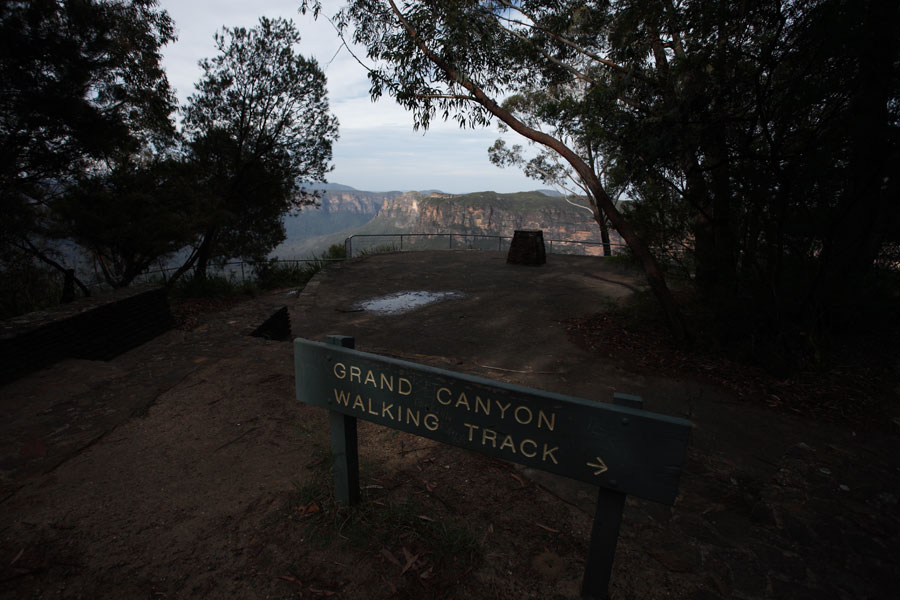
I wanted a shot that put the view over the canyon in context - providing a location label and an impression of what it was like approaching the lookout. The range of brightness was almost as great as taking an indoor shot including a view out of a window. So I attempted a standard 3 exposure auto-bracketed shot - despite the movements in the trees
Back at the PC
I checked if the results could be aligning and combined using Photomatix. But the results were unacceptable - just too much movement over too large an area. So the next step was to select one of the three images (I choose the standard exposure image) and use my RAW converter to create 3 separate TIF images with different exposure settings; no change, +2 EV and -2 EV.
Now I could try again with Photomatix to create an HDR version knowing that the images would be perfectly aligned. The HDR image was then worked on with the Photomatix Tone Mapping Details Enhancer option to produce an image that could be finished off in Photoshop.
The Nuts and Bolts
The shots were taken on a Canon 5D + 17-40mm f4L lens set at 17mm, AV set to f6.3 using 100 ISO and RAW. The exposure bracket step was 2 EV giving an image sequence of 0, -2, +2 EV. The shot actually selected was the first - shot at 1/400th.
The software used to create the 3 TIF images was Canon’s Digital Photo Professional v3.5.1
The software used to create the composite image (32-bit HDR) and then tone map to a 16-bit TIF was Photomatix Pro (free trial here). The settings I used in Photomatix were saved and can be downloaded here
Adobe’s Photoshop Elements v7 was used to adjust the tone curves and plug-in filter Topaz Adjust v2.5 was used to boost colour and contrast. See the More Info page for details of the Topaz product line.
|